
Customize Onboarding Questionnaire
Your New Onboarding Questionnaire
Time to give your onboarding process a serious upgrade.
Moving your Onboarding Questionnaire into Notion is what makes the whole Setup OS system actually work the way it’s meant to.
Here’s what happens once it’s set up:
- Your client completes the onboarding questionnaire (you’ll send them a clean, user-friendly link)
- Their answers auto-magically populate fields throughout their project
- Skeleton workflows are triggered behind the scenes
- And you get every business detail you need to start Phase 1 tasks (as outlined on the project board)
It’s slick. It’s streamlined. And it saves you hours.
This section will walk you through everything from how to customize the questionnaire to how to send it - whether your client uploads files to Notion or somewhere else like Google Drive. Let's get into it.
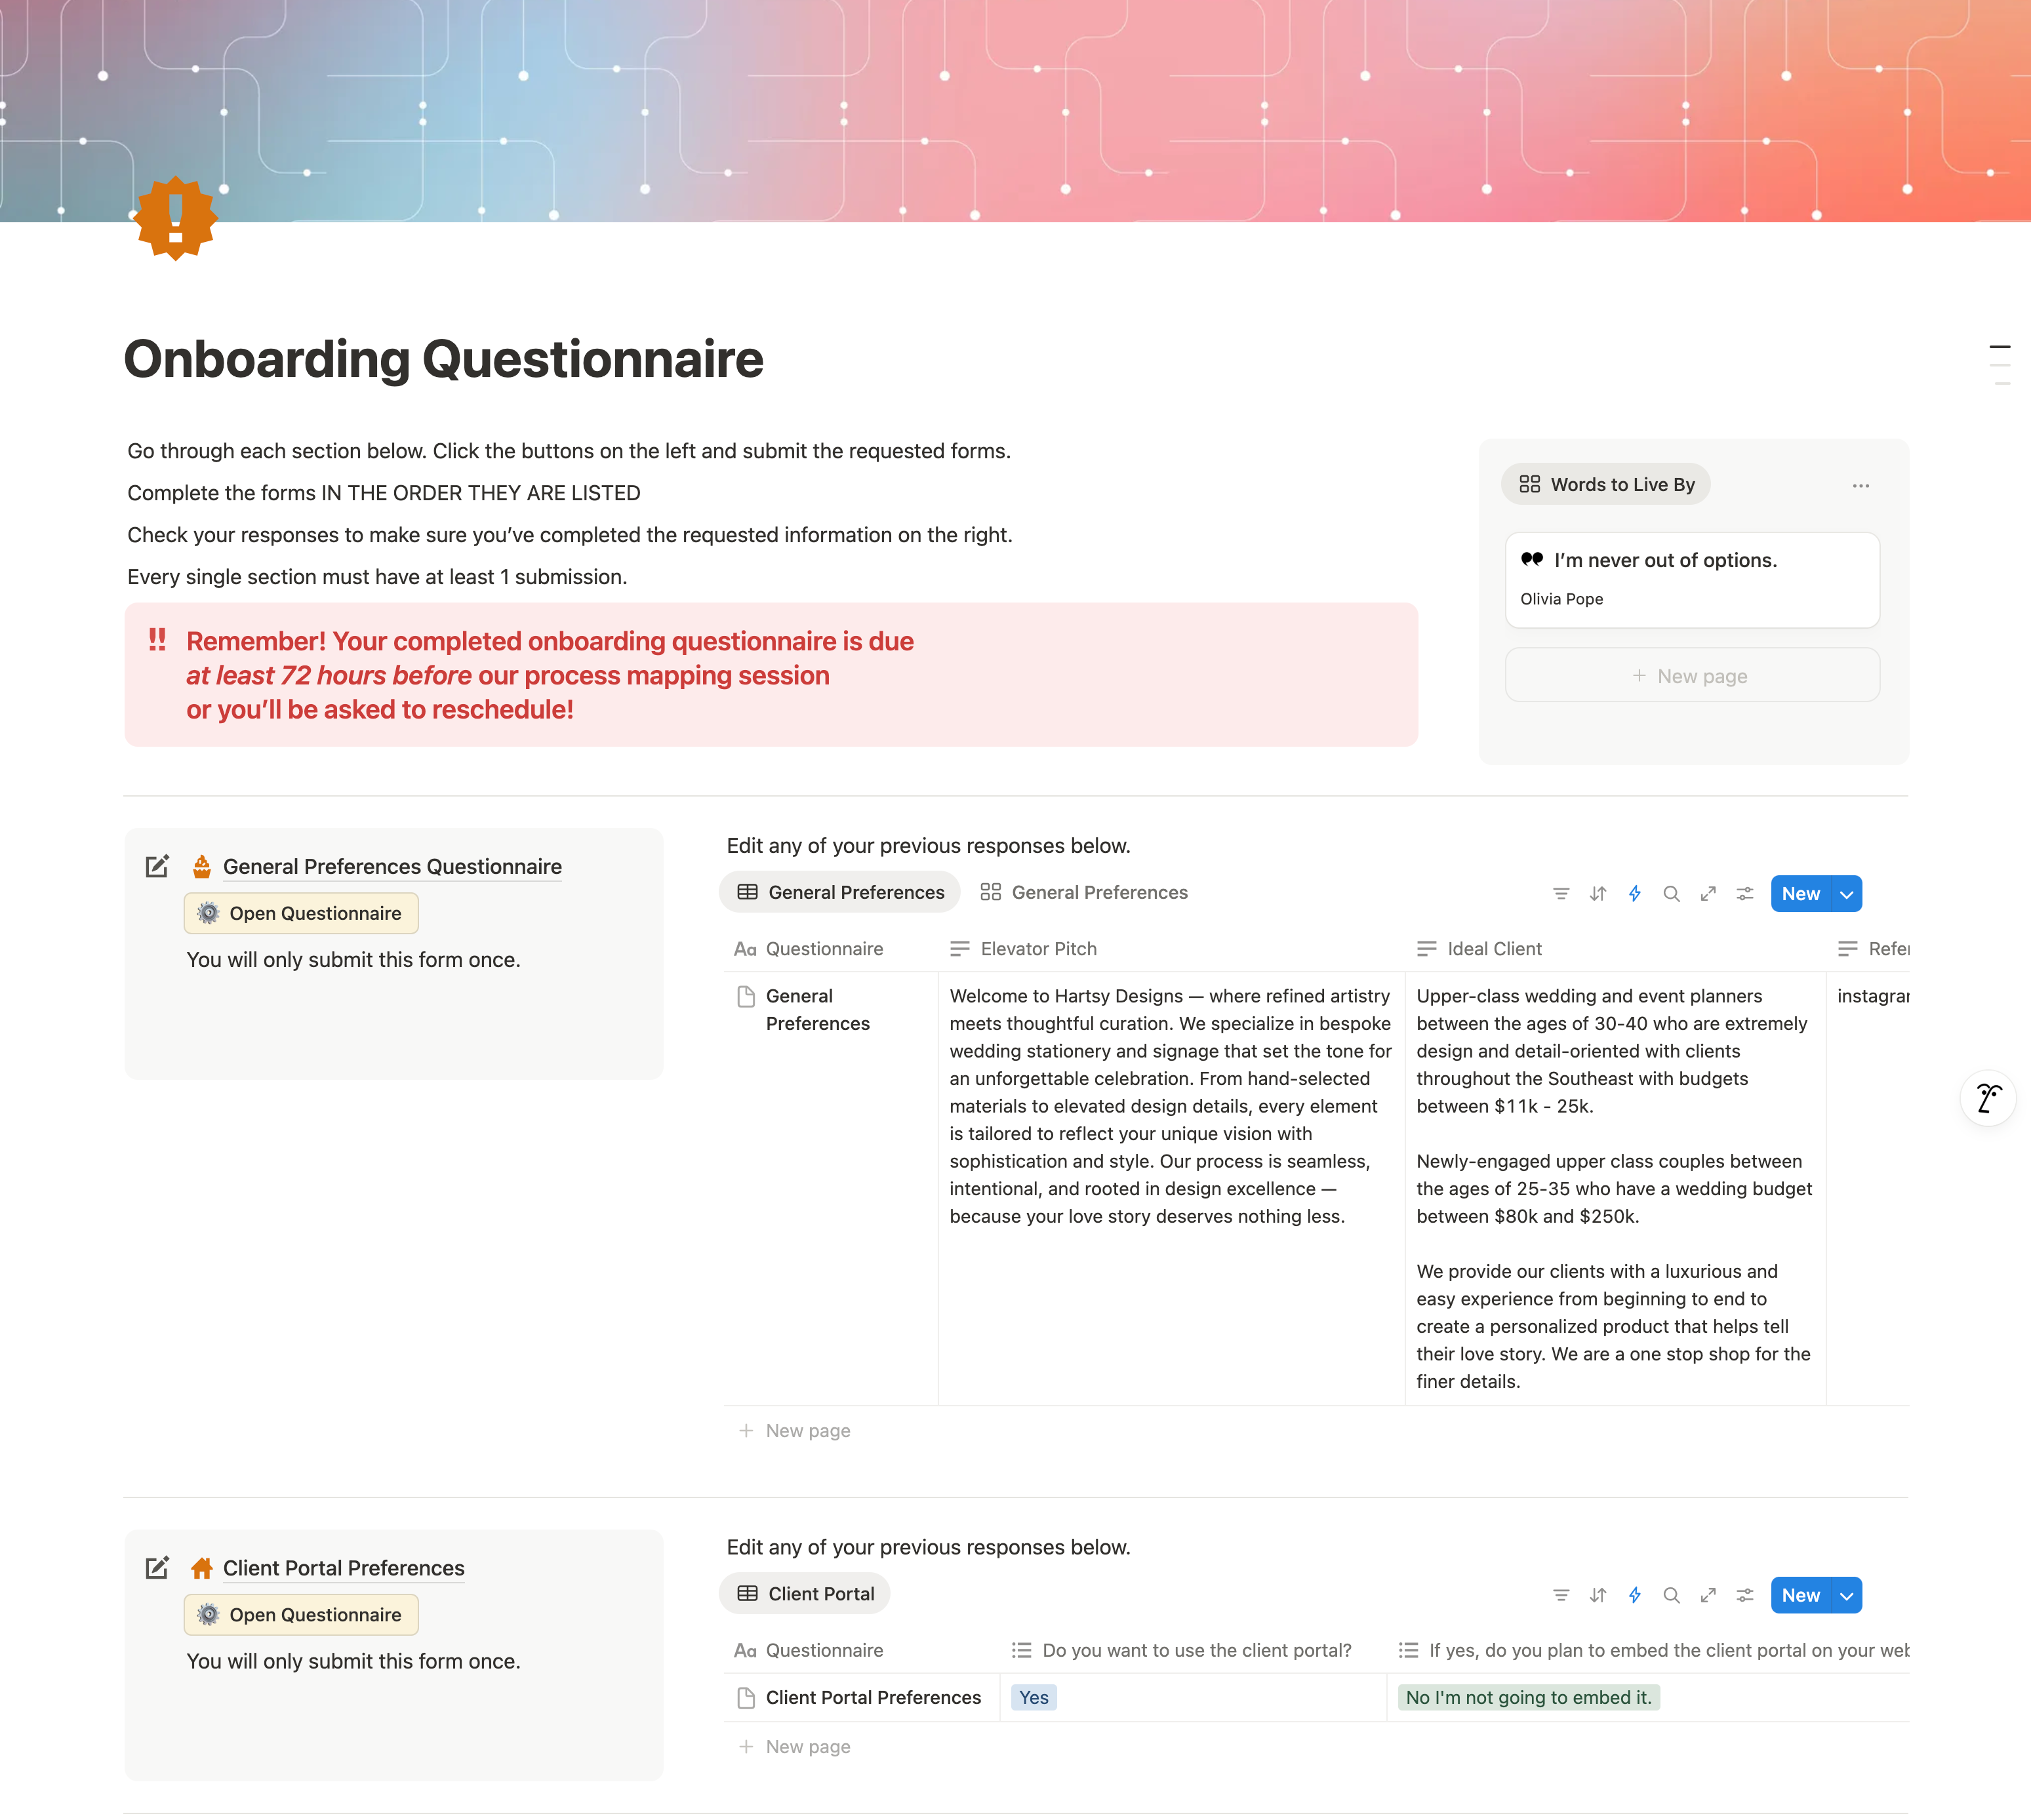
Full Onboarding Questionnaire (OQ) Question List
This doc gives you a complete list of every question asked inside the Onboarding Questionnaire - all in one place. While you'll be guided through the setup process step-by-step in your project board, this gives you a quick way to scan what's coming, reference what’s asked, and find info fast when you're building out the rest of your system.
Think of it as your cheat sheet. Use it if you like knowing where you're headed (or just hate flipping tabs).
This document also has the content for the Content Approval Questionnaire on it. We'll get into those details in the next module!
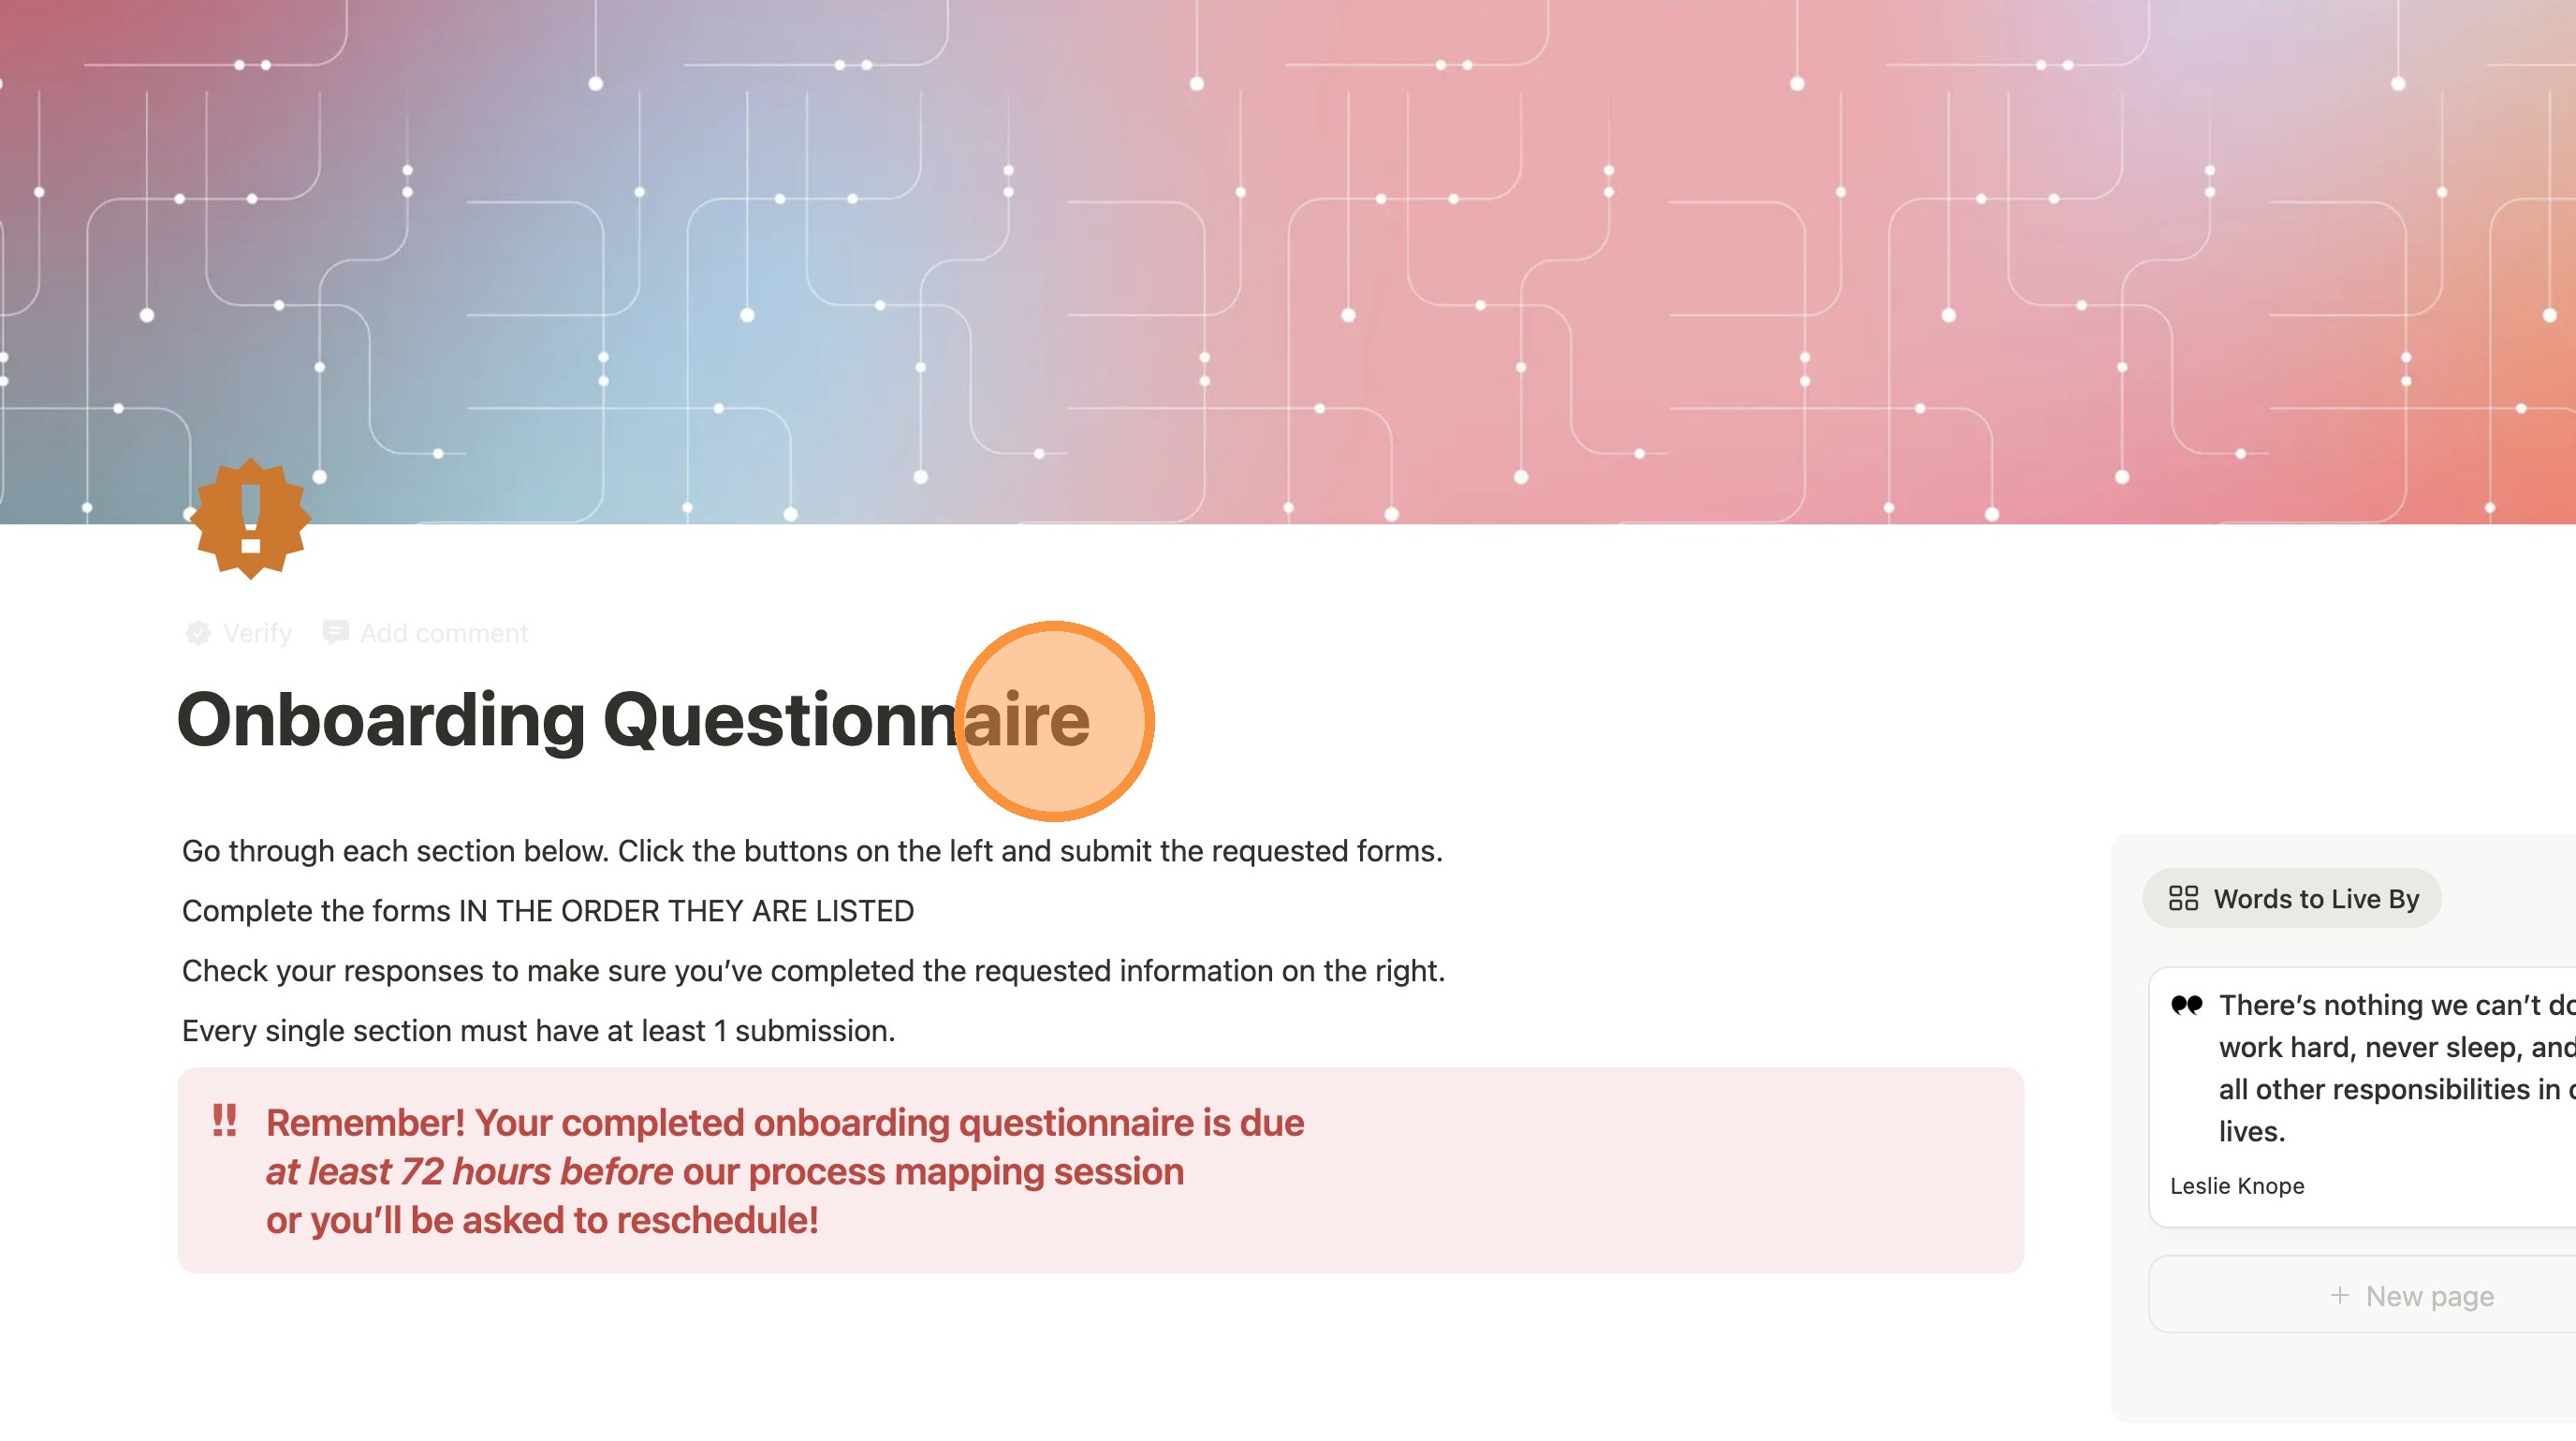
Access the Onboarding Questionnaire Template
All of the directions below this section should be completed from the TEMPLATE area of the Onboarding Questionnaire. Follow these directions to get there.
1. Navigate to the Home Page of The Setup OS.
2. Click here.
3. Click this icon.
4. Click "Edit"
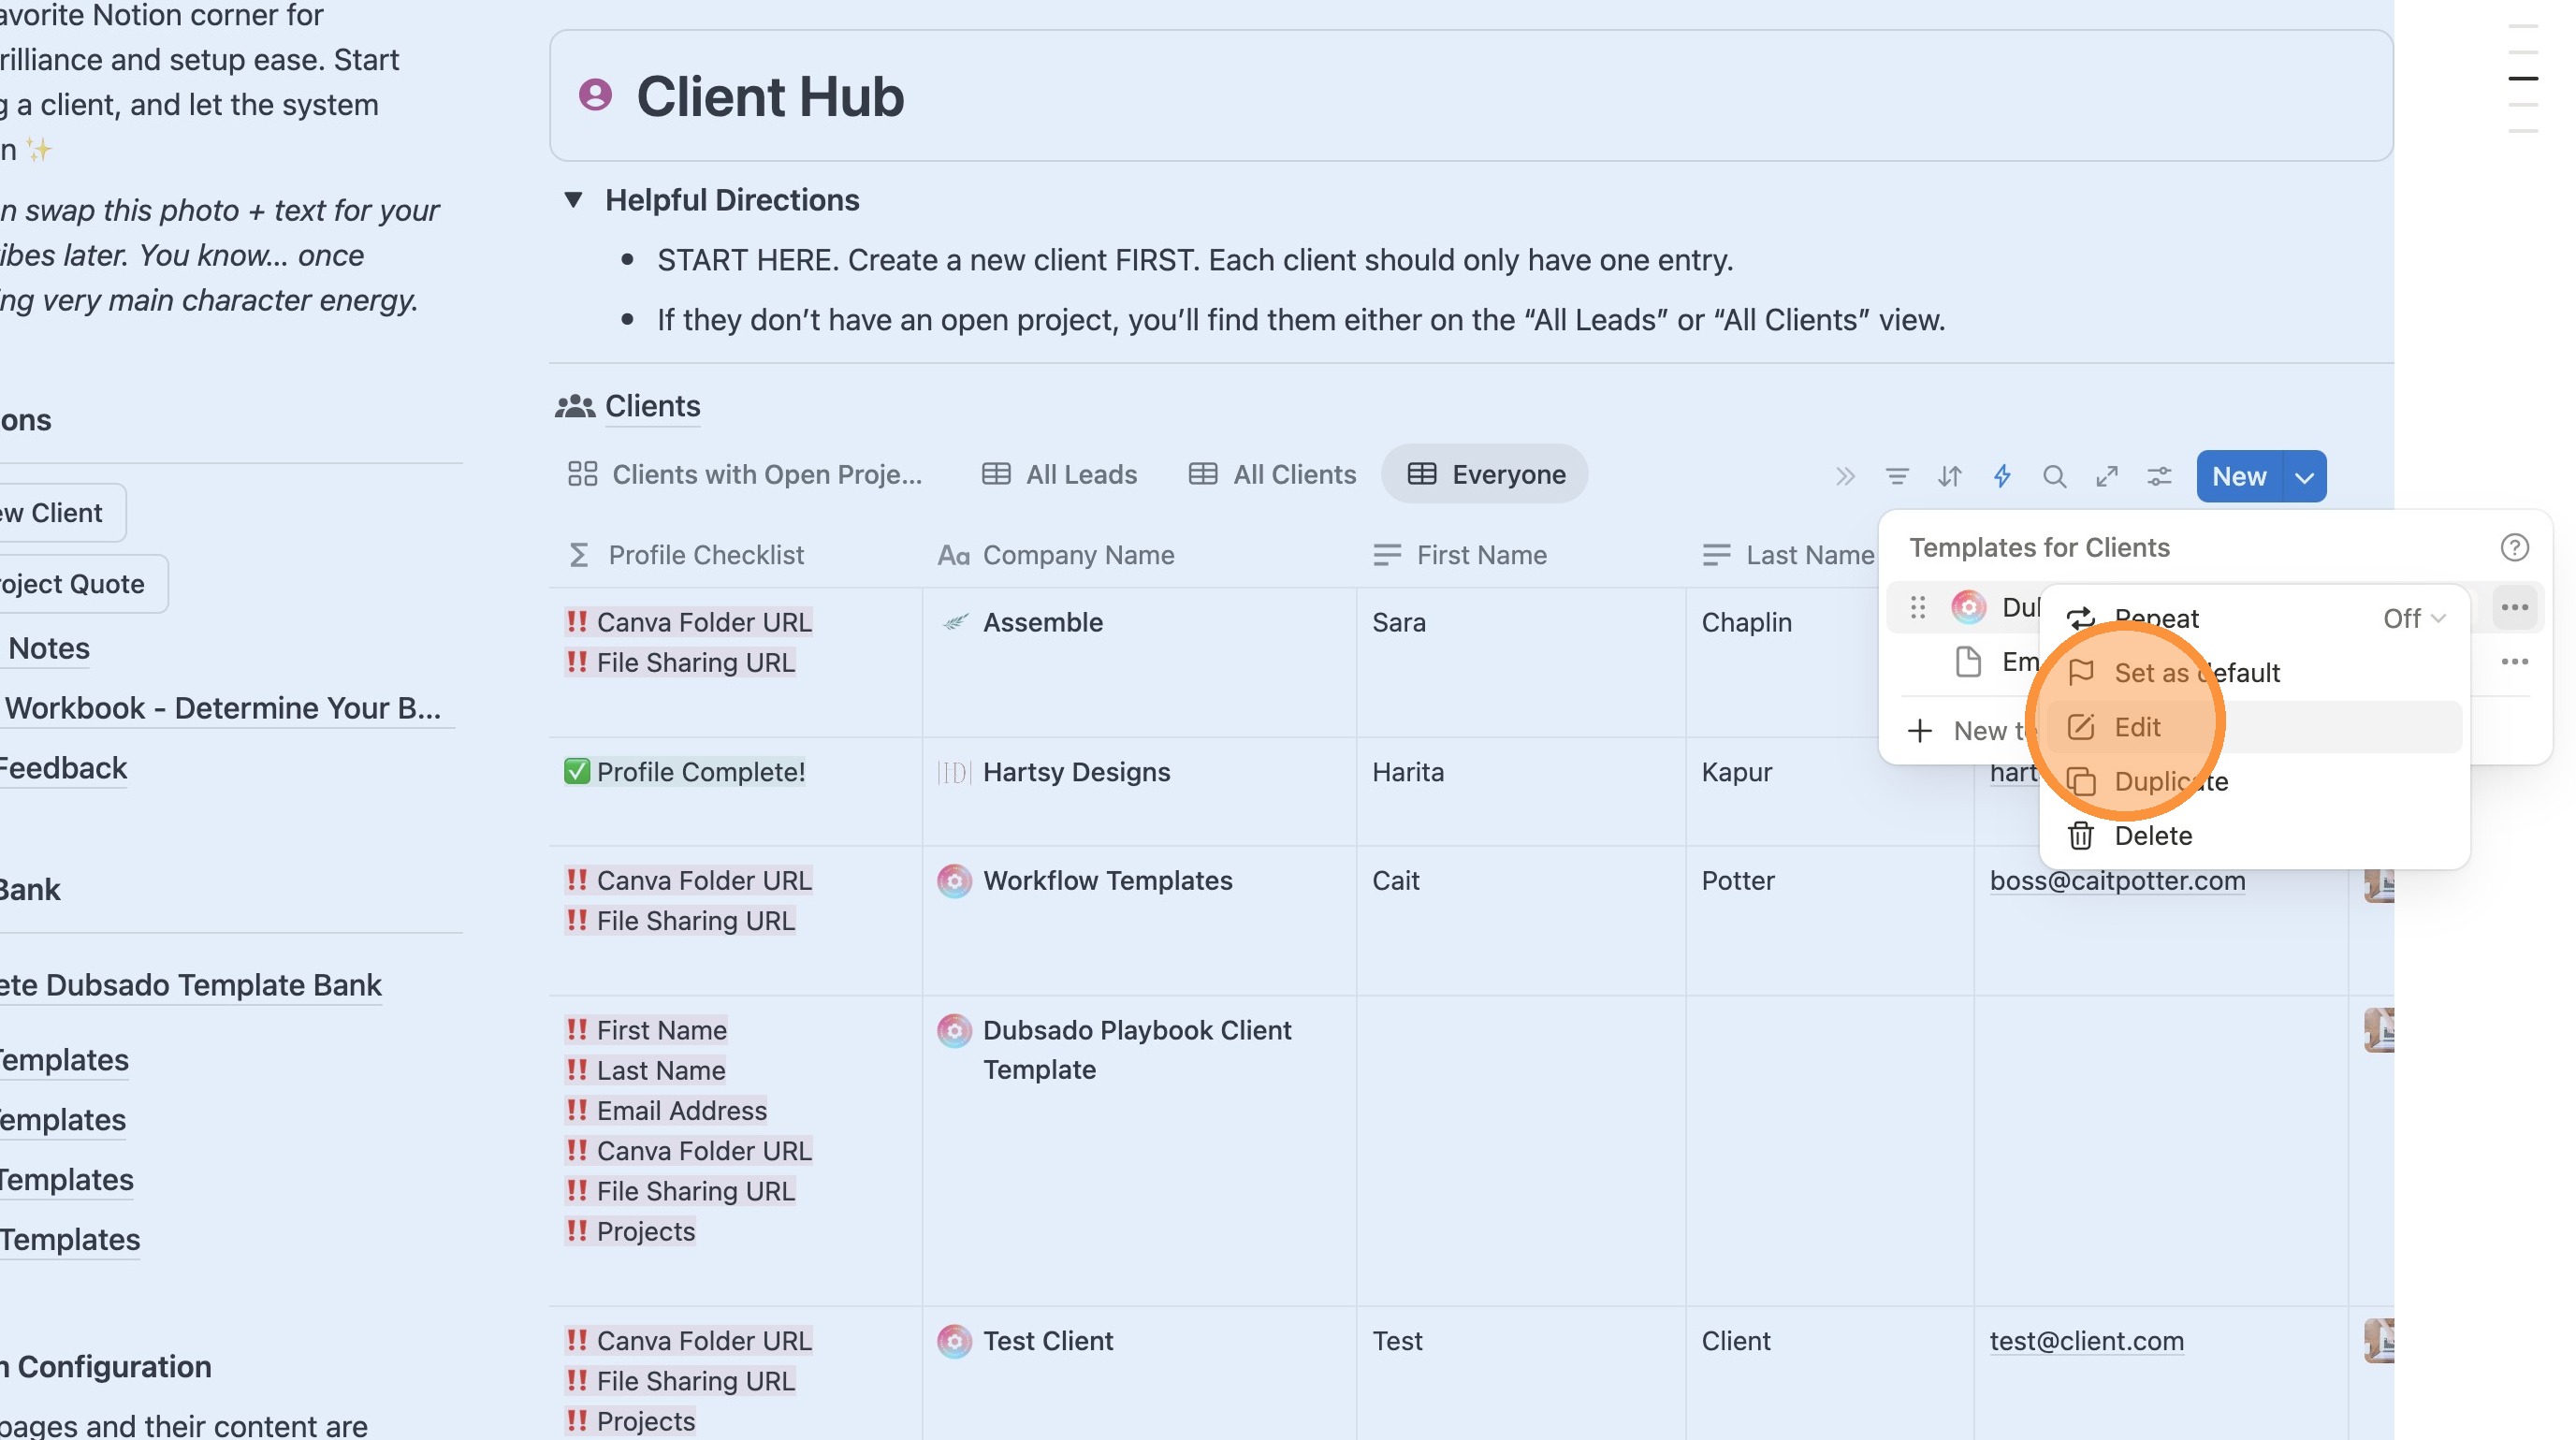
5. Click here to make it full screen.
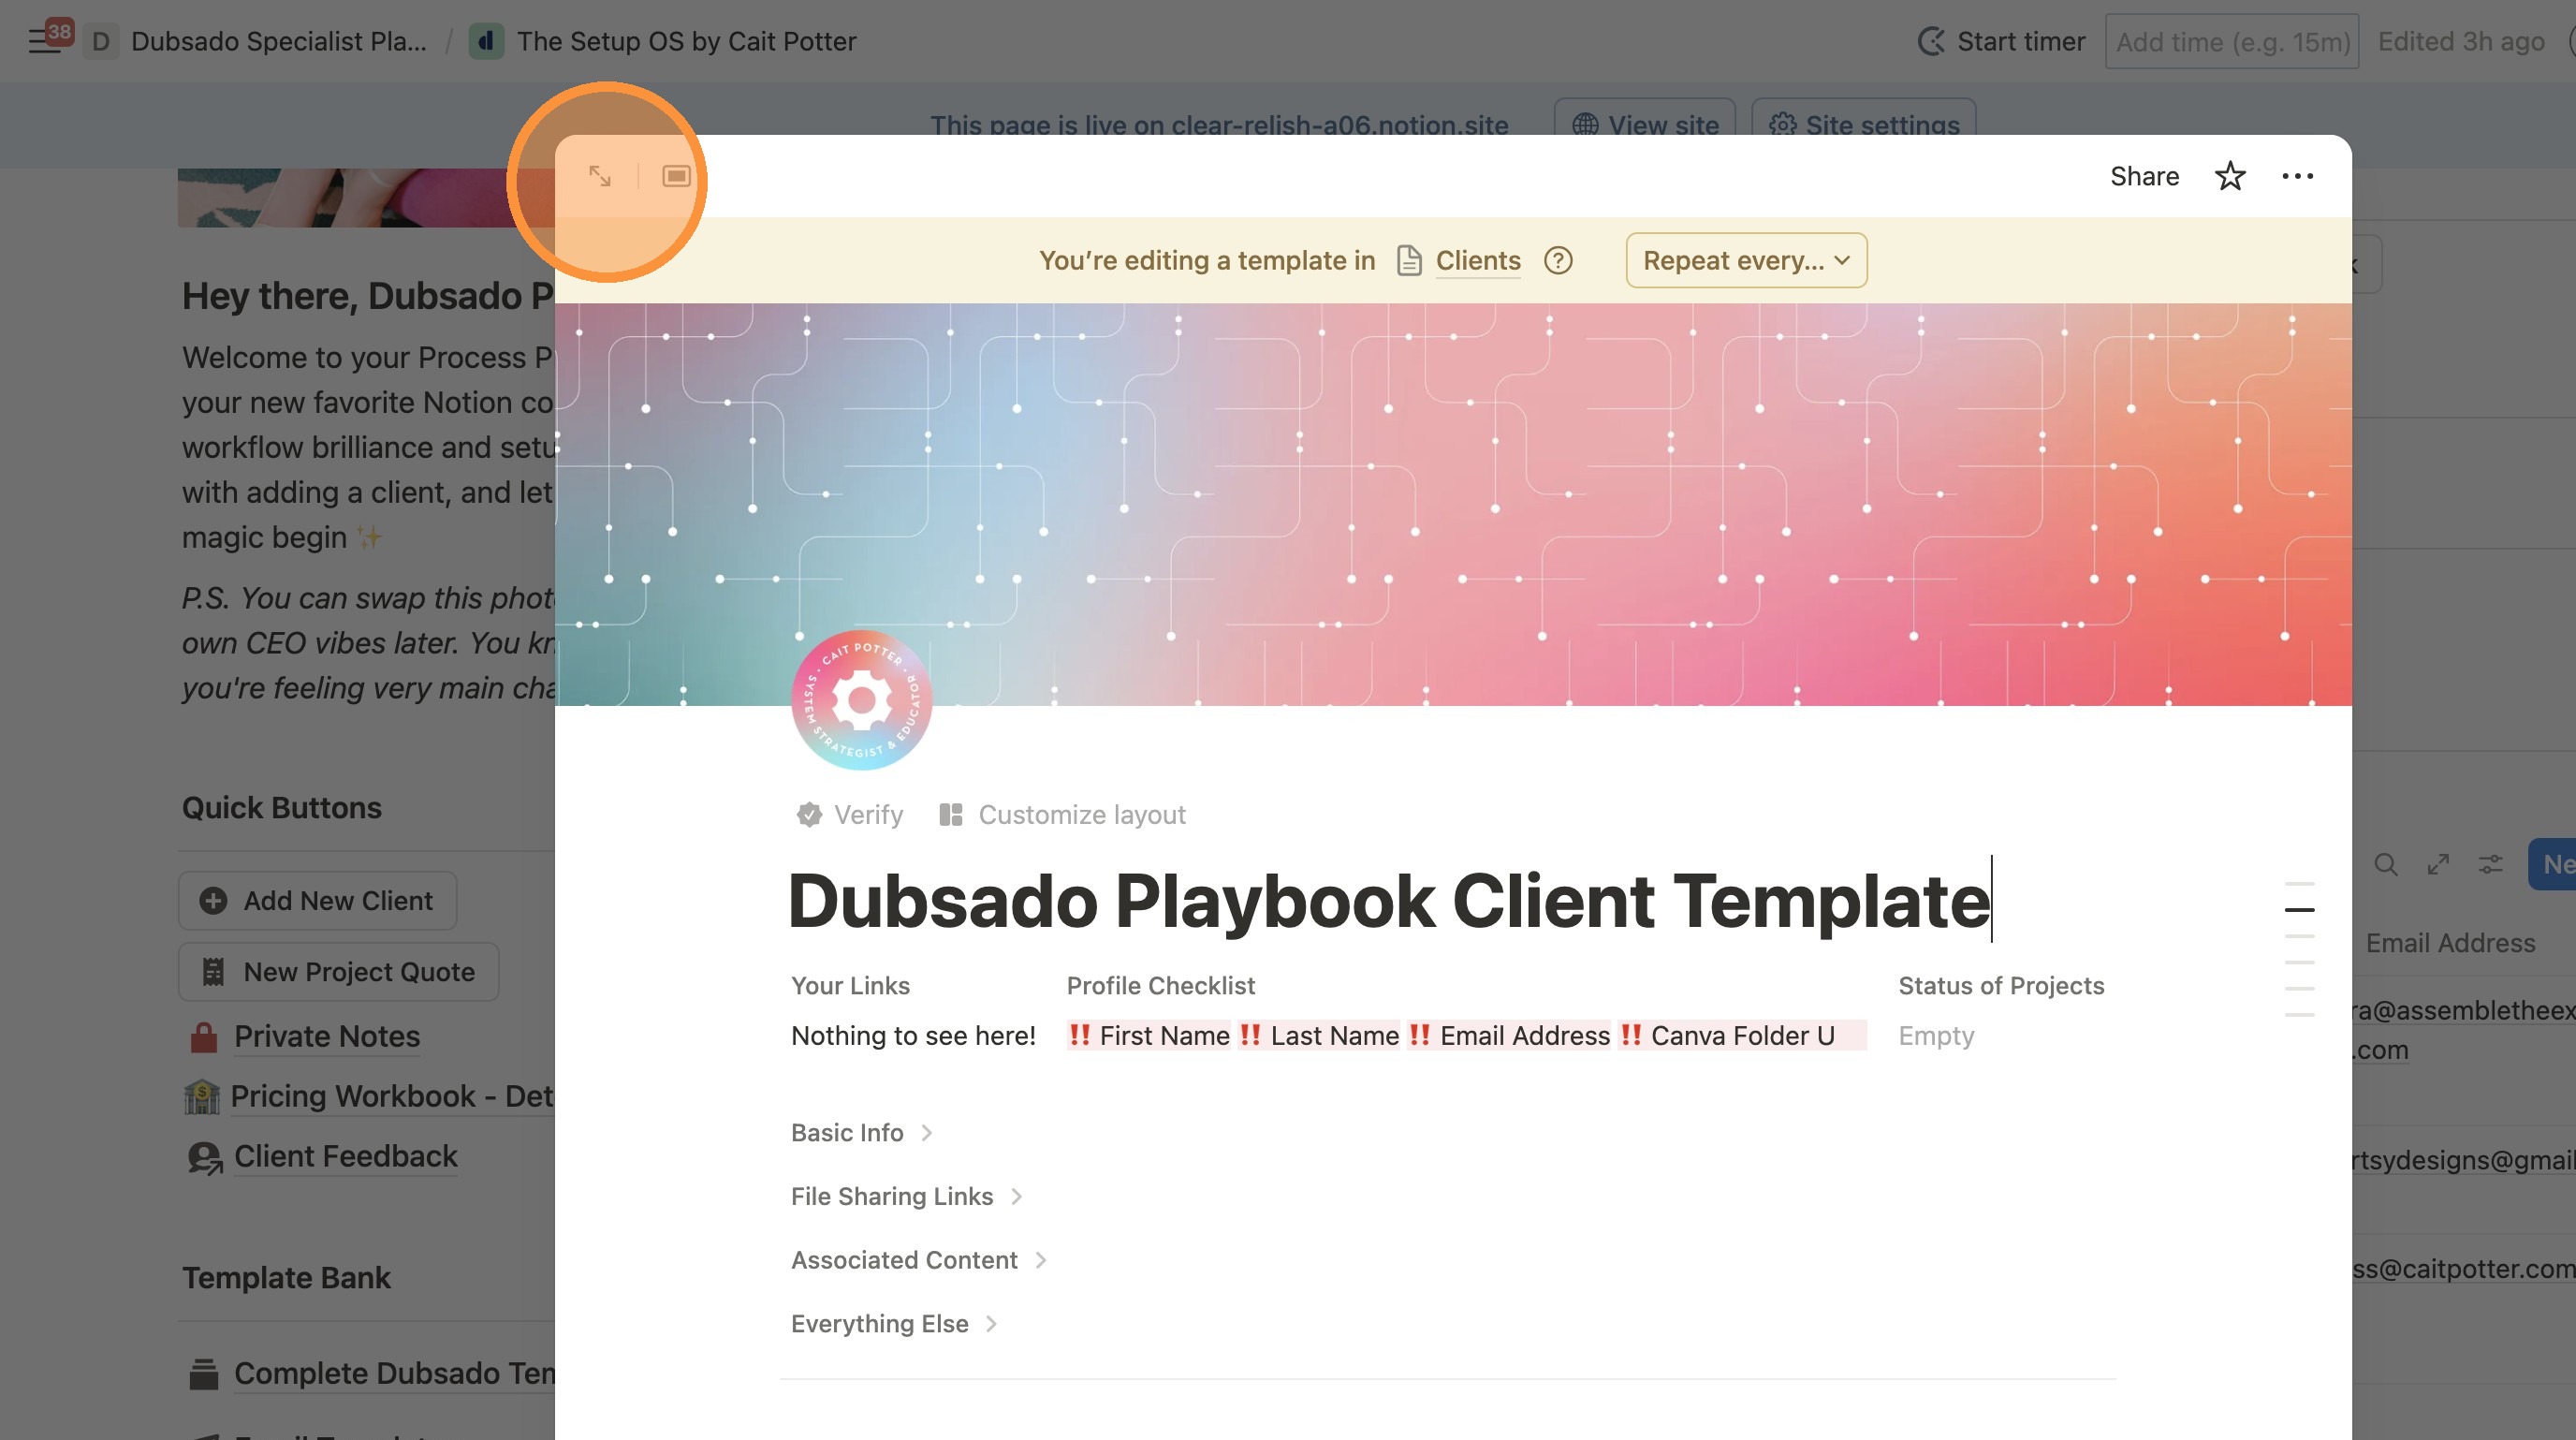
6. Click "Onboarding Questionnaire" or "Content Approval Questionnaire", whichever you are trying to edit.
7. Once you've landed on the opened page, this is where you'll make the rest of the updates listed in this section.
Alert: When you're all done with the updates described in your course, make sure you exit the template!
Make Template Updates
Update Cover
Remember the directions from the Notion Basics module on updating cover photos and icons. Update those items as desired here.
Email Signature
- Scroll down to the Email Preferences Section.
- Hover on the image of my email signature - click the three dots in the top right corner.
- Then click "Replace"
- Upload YOUR email signature template image.

Update Admin Questionnaire
The last questionnaire on the page is called Admin and you need to customize it with:
- Your email in the invitation instructions area
- Remove the question about inviting your assistant if you don't have one
- Update the terms in the "Your Agreement" area if your Process Mapping Sessions are a different length than 2 hours or you call them something different.
Here's how to update those items:
- Scroll down to the bottom of the page to the Admin section.
- Click "Open Questionnaire"
- Click "Edit Form" in the top right, then make these updates.

Upload Options
Before you publish and share your Onboarding Questionnaire, you’ll need to decide where your clients will upload their assets. There are two main options:
OPTION 1: Upload to Google Drive (Recommended)
This gives you more control over file organization and avoids the occasional quirks of Notion uploads. If you're going this route:
1. Remove Upload Fields from Notion
In various sections throughout the Onboarding Questionnaire, there will be attachment fields where files can be uploaded Notion. They are denoted with a paperclip icon. If you're using the Google Drive upload method, you need to DELETE these attachment fields.
Go to the following sections in the Onboarding Questionnaire Template, and on the right side of the page in each section, (1) locate the attachment field (2) click the field title and (3) click delete. See photo below for what this looks like.
- Section: Email Preferences |
-
Field Name: Photo Attached
Note that there are TWO tables in this section. One called "Upload Email Sig Photo" and one called "Email Preferences" (as seen in the grey ovals in the screenshot). You are deleting from the EMAIL PREFERENCES table.

-
Delete the "GOOGLE DRIVE / FILE SHARING DIRECTIONS - DELETE ME" instructions header. Don't delete the instructions!

-
- Section: Logos
-
Field Name: Logos
Note that there are TWO tables in this section. One called "Upload Your Logo" and one called "Submitted Logos" (as seen in the grey ovals in the screenshot). You are deleting from the SUBMITTED LOGOS table.

-
Delete the Notion Instructions header, the Notion instructions themselves, and the "GOOGLE DRIVE / FILE SHARING DIRECTIONS - DELETE ME" instructions header. Don't delete the Google Drive instructions!

-
- Section: Team Members
-
Field Name: Headshot
Note that there are TWO tables in this section. One called "Upload Your Headshots" and one called "Submitted Team Members" (as seen in the grey ovals in the screenshot). You are deleting from the SUBMITTED TEAM MEMBERS table

-
Delete the Notion Instructions header, the Notion instructions themselves, and the "GOOGLE DRIVE / FILE SHARING DIRECTIONS - DELETE ME" instructions header. Don't delete the Google Drive instructions!

-
- Section: Product Images
- Note that there are TWO tables in this section. One called "Upload Your Product Images" and one called "Submitted Product Images" (as seen in the grey ovals in the screenshot). You are deleting both of the fields in this section from the SUBMITTED PRODUCT IMAGES table.
-
Field Name: Related Service (this one is not an attachment field. It has an arrow next to it instead. It should still be deleted.

-
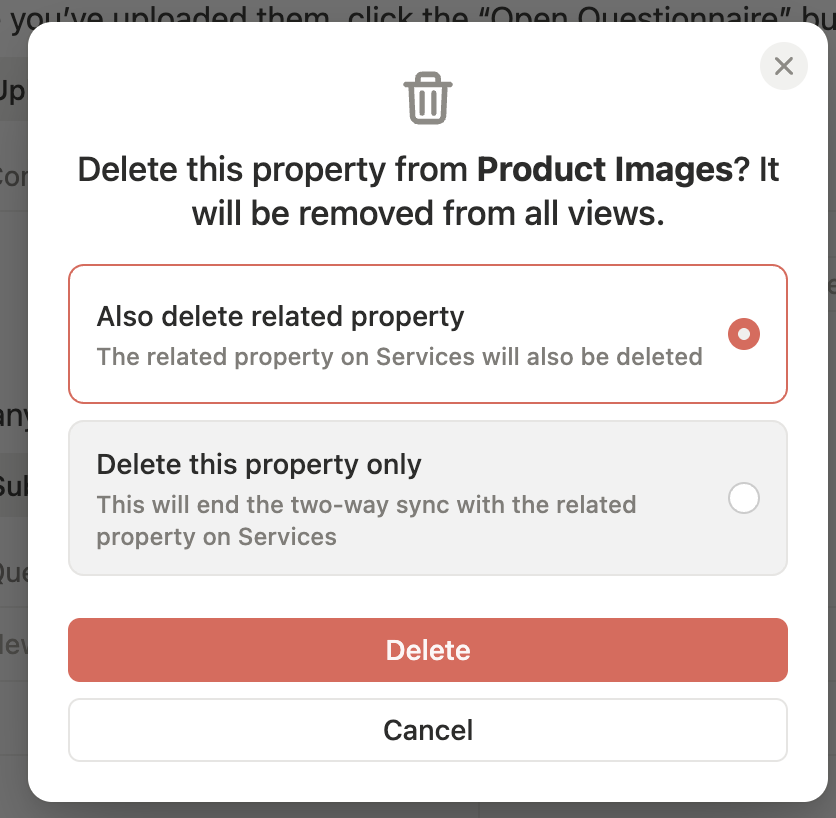
When you go to delete the Related Service field, you'll get this message. Select "Also Delete the Related Property"!
-
Field Name: Images

-
Delete the Notion Instructions header, the Notion instructions themselves, and the "GOOGLE DRIVE / FILE SHARING DIRECTIONS - DELETE ME" instructions header. Don't delete the Google Drive instructions!

-
2. Adding Google Drive Links
DON'T WORRY ABOUT THIS YET! You'll need to add individual google drive links for each client, but don't worry about that yet. You'll get to that when you're learning about setting up for each client. In this step, we're just customizing your template.
!End of Google Drive Instructions!
OPTION 2: Upload Directly to Notion
Want to keep everything inside Notion? That works too - just a few changes to make.
1. Remove External Upload References
In the sections listed below, delete the entire “Upload Your ___” tables and the instructions that go with them.
- Section: Email Preferences |
-
Delete Table: Hover over "Upload Email Sig Photo" > click the six dots that appear on the right > Click Delete > Delete the remaining directions in text above it.

-
Delete Instructions: from the side bar

-
-
Section: Fonts | Notion doesn’t support font file uploads. You’ll need to provide an alternate method (like Google Drive or email) for receiving those files — or delete the font section entirely if you don’t offer custom font support.

- Section: Logos |
-
Delete Table: Hover over "Upload Your Logos" > click the six dots that appear on the right > Click Delete > Delete the remaining directions in text above it.

-
Delete Instructions: from the side bar


-
- Section: Team Members |
-
Delete Table: Hover over "Upload Your Headshots" > click the six dots that appear on the right > Click Delete > Delete the remaining directions in text above it.

-
Delete Instructions: from the side bar


-
- Section: Packages |
-
Delete Table: Hover over "Upload Your Packages" > click the six dots that appear on the right > Click Delete > Delete the remaining directions in text above it.

-
- Section: Product Images |
-
Delete Table: Hover over "Upload Product Image" > click the six dots that appear on the right > Click Delete > Delete the remaining directions in text above it.

-
Delete Instructions: from the side bar


-
!End of Notion Instructions!
Publish Notion Forms
Before you can send your onboarding questionnaire to clients, you’ll need to publish several forms in Notion so they're publicly submittable.
Instructions for publishing are embedded below - follow them carefully to make sure everything is set up for client access.
Set Up the Dubsado Delivery Form Template
Once your Notion Onboarding Questionnaire is ready, you'll want an easy way to deliver it to your client without hunting down links or sending custom emails manually.
Here’s how to make that happen inside Dubsado:
-
Create a Smart Field for the Onboarding Questionnaire Link
Add a custom smart field to your project profiles where you’ll paste their unique Notion link.
-
Use the Dubsado Delivery Form
This form (template linked below) includes a button that pulls in your custom smart field - so when the form is sent, the button links straight to their onboarding form.
-
Double Check the Template Button
Make sure the smart field is correctly placed in the button URL so it goes to the right place for each client.
[LOGIN TO YOUR PORTAL TO GET YOUR FORM TEMPLATE]
Once this is done, you’ll be able to deliver onboarding questionnaires with just a few clicks - and you’ll still be able to track, remind, and follow up via workflows like normal.